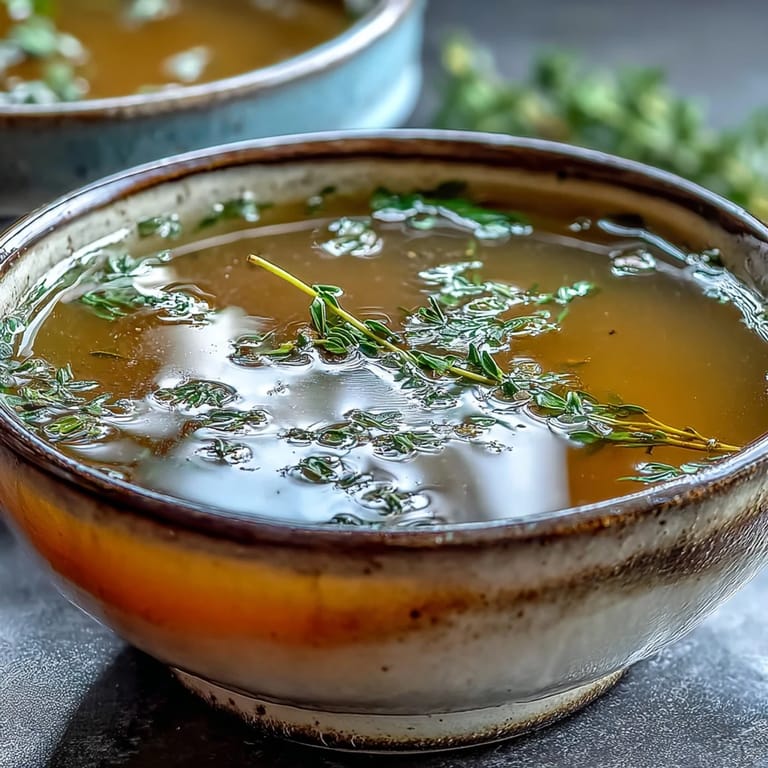
 Pin It
 There's something quietly satisfying about turning kitchen scraps into liquid gold. One afternoon, while prepping vegetables for dinner, I found myself staring at a pile of carrot peels, onion skins, and celery ends about to hit the compost bin—and something clicked. Why waste them? Within an hour, my kitchen filled with the most comforting aroma, and I realized I'd just created something far more valuable than the ingredients suggested. Now, this broth has become my secret weapon, born entirely from what I used to throw away.
My roommate walked in mid-simmer and asked what smelled so good, assuming I'd been cooking for hours. I laughed and showed her the pot of simmering scraps—her skepticism melted the moment she tasted it. That's when I knew this simple broth wasn't just thrifty; it was genuinely delicious and capable of converting anyone to the art of using every last bit.
Ingredients
- Vegetable Scraps (4 cups): Carrot peels, onion skins, celery ends, leek tops, mushroom stems, parsley stems, and garlic skins create depth—avoid potato peels and brassicas, which can turn bitter and cloud the broth with starch.
- Bay Leaf (1): This single leaf anchors the broth with earthy complexity that you'll taste in every spoonful.
- Black Peppercorns (5–7): Whole peppercorns release their heat slowly during simmering, building flavor without overwhelming.
- Garlic (2 cloves, crushed, optional): Crushing releases the oils and lets the garlic integrate gently rather than dominate.
- Salt (1 teaspoon, optional): Hold back on salt if you're using this broth in other recipes where sodium might accumulate.
- Fresh Thyme (1 sprig) or Dried Thyme (1/2 teaspoon, optional): Thyme whispers herbaceous notes that tie everything together without shouting.
- Cold Water (8 cups): Cold water allows flavors to extract gradually and evenly as the broth heats.
Tired of Takeout? 🥡
Get 10 meals you can make faster than delivery arrives. Seriously.
One email. No spam. Unsubscribe anytime.
Instructions
- Gather and Sort Your Scraps:
- Collect clean vegetable trimmings as you prep other dishes, storing them in a bowl in the fridge until you're ready to make broth. This transforms your usual waste into intention.
- Build Your Pot:
- Place scraps, bay leaf, peppercorns, crushed garlic, salt, and thyme into a large stockpot—layering them loosely so water can move freely around everything. This simple arrangement is all your broth needs to become something special.
- Cover with Cold Water:
- Add water until all scraps are submerged by about an inch, then give everything a gentle stir. Cold water is your starting point; it draws out flavors slowly and cleanly.
- Bring to a Boil, Then Ease Back:
- Turn heat to medium-high and watch as the pot comes alive with bubbles. Once it reaches a rolling boil, immediately lower the heat to create a gentle simmer—not a vigorous one, which clouds the broth and makes it taste muddy.
- Simmer and Skim Patiently:
- Let it bubble softly for 45 to 60 minutes, occasionally skimming foam and impurities from the surface with a ladle or spoon. This simple step clarifies the broth and makes it taste brighter.
- Taste and Adjust:
- Near the end, take a small sip and decide if you need more salt or an extra herb—this is your moment to make it yours. Trust your palate; broth should taste clean and comforting, not timid.
- Strain Thoughtfully:
- Pour the broth through a fine-mesh sieve or cheesecloth into a clean container, letting gravity do the work rather than rushing. This separation moment feels ceremonial, like watching something murky become clear.
- Cool and Store:
- Let the broth cool to room temperature before sealing it in airtight containers. Refrigerate for up to five days or freeze for three months—either way, you've created a staple worth preserving.
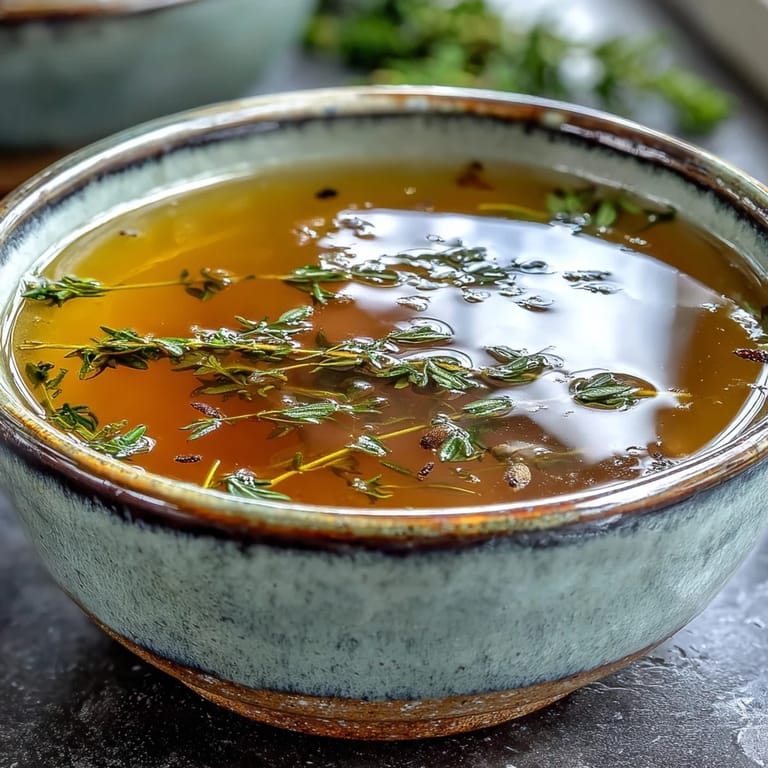 Pin It
 Last winter, I made this broth on a gray Sunday and sipped it warm from a mug while reading—no other ingredients needed. It felt like holding something warm and honest in my hands, proof that the smallest things, when given attention and time, become truly nourishing.
The Case for Roasting
One evening, curious about depth, I roasted my vegetable scraps at 400°F for twenty minutes before simmering them. The transformation was immediate—the broth turned a deeper amber and tasted richer, almost nutty. It's an optional step, but if you have time and want your broth to carry more presence in a delicate dish like risotto, roasting is worth the extra twenty minutes.
Flavor Boosters Worth Exploring
A small piece of kombu or a handful of dried mushrooms can push your broth into umami territory, creating something almost meaty in its satisfaction. I discovered this by accident when I found kombu in my pantry and decided to experiment—now it's my quiet secret when I want the broth to taste more substantial without adding stock or meat.
Making This Broth Work for You
This broth is humble enough to sip alone and flexible enough to strengthen any soup, grain, or stew. The beauty is that it doesn't announce itself—instead, it makes whatever you're cooking taste more like itself, clearer and deeper.
- Start freezing scraps in a bag the moment you prep vegetables, so you always have broth waiting to happen.
- If you're using this in salted dishes like risotto, skip or reduce the salt so flavors don't compete.
- Taste your finished broth before storing; it's your last chance to adjust seasoning without guessing later.
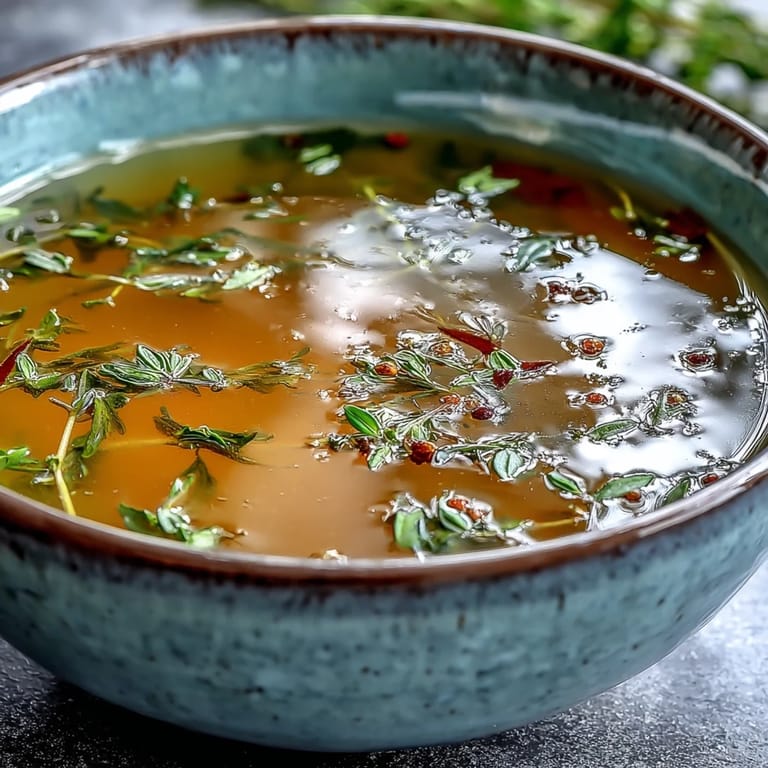 Pin It
 This broth reminds me that some of the most valuable things come from paying attention to what we're about to discard. Once you've tasted homemade broth made from your own kitchen scraps, you'll never look at vegetable trimmings the same way again.
Recipe FAQs
- → What vegetables should I avoid using in the broth?
Skip potato peels, brassicas (broccoli, cauliflower, cabbage), and overly starchy or sweet vegetables. These can make your broth cloudy, bitter, or overly sweet. Stick with onion skins, carrot peels, celery ends, leek tops, and mushroom stems for the best results.
- → How long can I store the homemade broth?
Keep your broth refrigerated in airtight containers for up to 5 days. For longer storage, freeze it for up to 3 months. Consider freezing in ice cube trays for convenient portion sizes, or in 1-cup containers for easy meal prep.
- → Can I customize the flavor profile?
Absolutely. Roast scraps at 200°C for 20 minutes before simmering for deeper flavor. Add kombu or dried mushrooms for umami richness. Experiment with different herb combinations like rosemary, parsley, or sage to create your signature blend.
- → Should I salt the broth during cooking?
It's best to add minimal or no salt during simmering. This keeps the broth versatile for various dishes. Season lightly when using in final preparations, allowing you to control sodium levels based on your specific needs and taste preferences.
- → What's the best way to strain the broth?
Use a fine-mesh sieve for everyday straining, or layer cheesecloth inside for extra clarity. Press gently on solids to extract liquid without forcing cloudy bits through. For the clearest broth, let it settle after straining, then carefully pour off the top layer.